

Randy Newman wrote the song You Can Leave Your Hat On about a man’s experience with a stripper. The singer provides instructions for the stripper on removing her clothing, but has her leave her hat in place. I love Randy Newman and adore his music but he was always too innocent and virtuous for this song. He is, after all, the musical voice of Pixar. It took Joe Cocker’s gravelly fervor to bring out the required sexual intensity of the song.
In the world of the Raspberry Pi, HAT is an acronym for “Hardware Attached on Top“, referring to add-on expansion boards that attach to the RPi’s 40-pin GPIO (General Purpose Input/Output) connector and sit on top of the computer.
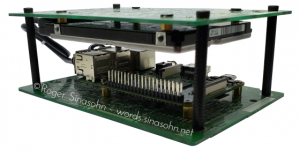
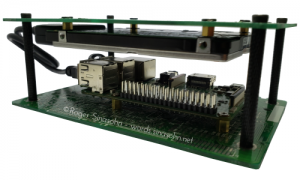
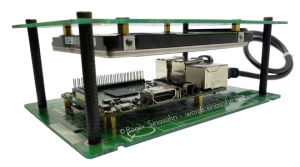
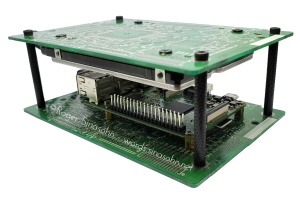
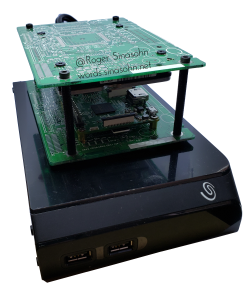
Right from the start, I had the idea of expanding the functionality of the HPi case to add a hard drive to the underside of the top circuit board. Given that the hard drive would be above the Raspberry Pi, I dubbed this feature the Hard Hat. Note that I didn’t add the Hard Hat initially as I was lacking some parts — primarily longer support pillars — that would have made it possible.

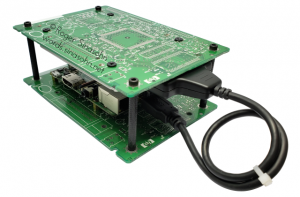
Click a photo to view full-size.
I like the look of the flat head screws holding the hard drive in place, the socket head cap screws holding the case together, and the contrast between them. It just seems right to me that the structural screws are larger and more substantial while the ones holding the drive are more subtle.
empty space.
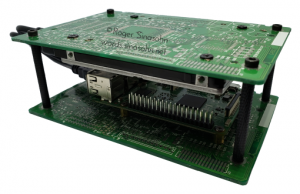
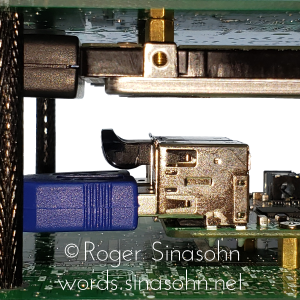
I should also note that this is (still!) not the final version. These photos show 45mm pillars; I’ve got some 40mm and even 37mm pillars on order as there is a lot of empty space between the RPi and the hard drive. On the upside, this makes for better cooling, but I think it doesn’t look as good. In addition, the hard drive is mounted using 4mm+4mm M3 M-F standoffs but the mounting holes on a 2.5″ hard drive are only 3mm deep. I am planning on replacing these standoffs with 4mm F-F standoffs and 5mm grub (headless) screws. This will reduce the height of the hard drive by 1mm.
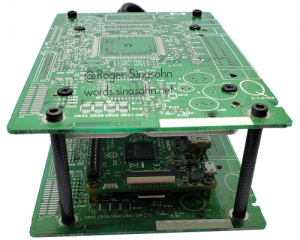
Ultimately, the case needs to allow for:
- 4mm — standoffs for the hard drive
- 9.5mm — hard drive
- 17mm — Raspberry Pi
- 4mm — standoffs for the RPi
This totals 34.5mm so, in theory, 35mm pillars would work. I don’t think that would allow enough space for cooling, however, so I think the minimum height is 37mm. 40mm is probably better still, to compromise between form and function (cooling). While the SanDisk Ultra Fit Flash Drive extends above the highest part of the RPi in its current position, it could easily be moved to a lower USB port or even swapped for a lower-profile flash drive.
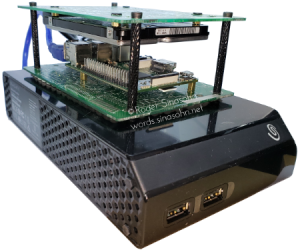
In some of the pictures, the system is shown sitting on top of an 8TB external hard drive. This is because my planned use for this system is as a backup system and I’ll need the extra space. This doesn’t, however, negate the functionality of the base system — a full computer with storage in an attractive (in my opinion) case.